For the past couple of weeks, we have been focused on how to save your own seeds. We have covered some technical points such as basic pollination, flower type and a bit about the genetics behind saving seeds. This week we will focus on specific plant types in the hope of helping you successfully save your own seeds from some of your favourite plants.
Although it is sometimes obvious, seeds may need different methodology to harvest including plucking, rubbing, shaking or grabbing. It is also important to ensure seeds are dry enough to store, which means you may need a good drying space for them.
The first group of plants we will focus on is self-pollinating annuals. These are significant crops to save and include plants like beans, grains, tomatoes, peppers and lettuce.
It seems fitting to begin with the amazing tomato as it is without doubt one of the most favourite foods to grow. If you are only saving a few seeds, then the process is extremely easy. When you are enjoying a fully ripe tomato, simply scrape some seeds out of the tomato you wish to grow again next year and let the seeds dry on a plate. Once they are dry they will be light in colour and should be stored in a small container in a cool, dry place. The seeds will maintain their viability for four to five years.
If you have many types of tomatoes to harvest and a few seed types, then there is a more commercial method to harvesting the seeds. Choose some of your best and fully ripened fruit that is free of any signs of disease. Let the tomatoes fully ripen so they are soft and beginning to ferment and squish them into the bottom of a pail or bucket. Add a bit of water, cover the container and leave it to sit for two to three days ensuring to label the container with the type of tomato inside. When you open the container, the site is not pretty but interestingly enough the seeds that are not still attached to the pulp will sink to the bottom of the container. Gently pour out the liquid until you reach the seeds that have settled to the bottom. It may take adding more water and a couple of pours to get to this stage, but once you have done this process, you will quickly develop expert status. Pour the seeds onto a fine mesh screen and lightly spray with a hose to spread them out evenly. The seeds will dry quickly and then can be safely stored within a few hours. Scrape them gently off the screen and gently rub any seeds that have become stuck together.
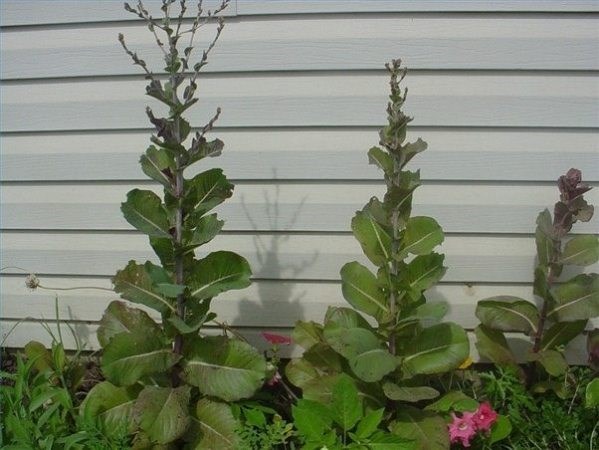
Lettuce is a unique crop as they grow up rather than down when they are setting seed. The flowering stalk will tower over the plant resembling a candelabra, which is quite attractive. In fact, half the fun of saving lettuce seeds is the unique fashion each cultivar will exhibit. Each little flower will produce a feathery seed site which is similar to what a dandelion seed will look like. The seeds will ripen over several weeks, so if you are looking to collect plenty of seeds, collect them when conditions are dry. The plant tops can easily be shaken into a container or you can gently rub the seed heads between your fingers to release the seed. Dry the seed for an additional day or two in a light and airy spot and the fluffy part will dry down and the seed can be stored in small, labelled containers. It is viable for four years if stored correctly.
Watch next week for more specifics on saving seeds.
Hanbidge is the Lead Horticulturist with Orchid Horticulture. Find us at www.orchidhort.com; by phone at 306-931-4769; by email at info@orchidhort.com; on facebook @orchidhort and on instagram at #orchidhort.


